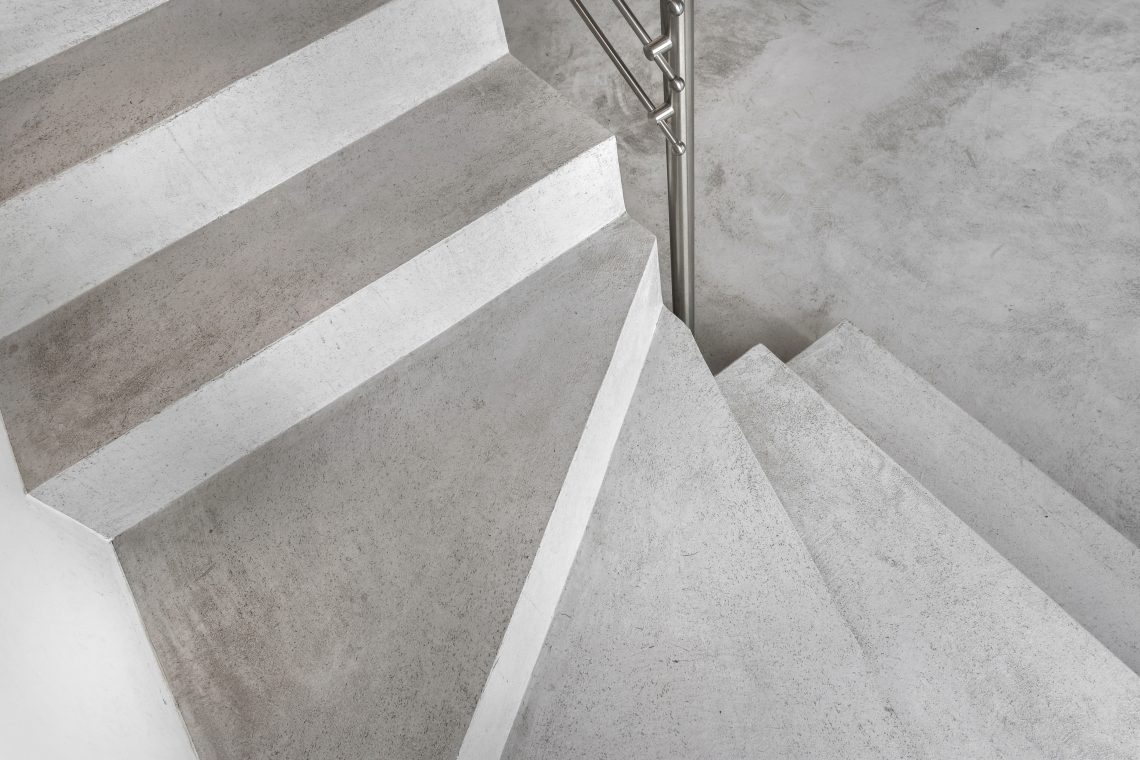
If you want to incorporate modern decor in your home, microcement can be part of the overall aesthetic. The cement and polymer-based coating is abrasion resistant and offers a practical solution to transform large surfaces. Not to mention, it bonds thinly to nearly everything – wood, drywall, tiles, and concrete. With minimal prep, you can use different techniques to achieve your desired look. Here is a step-by-step guide on how to apply microcement.
Supplies needed
You need base cement, medium cement, PU sealer, a trowel, rollers, painter’s tape, spatula, vacuum, and surface sealer. You can get all these items from your microcement UK.
Steps
Surface Preparation
The first thing is to ensure the surface is dirt and grease free. In addition, it should be dry and smooth as possible. The goal is to remove bond breakers that can cause unevenness, cracking and outgassing. For walls and floors, you need an additional phase of surface regularization. It involves extending a fiberglass mesh to make the microcement bond more effectively.
Apply a protective tape
A shielding tape protects furniture corners, exposed surfaces, etc.
 Apply primer or a high-quality sub base
A primer and microcement bind perfectly. Use a short-haired roller to apply the primer – drying can take 20-40 minutes. Rough surfaces may cause undesirable differences, such as burnishing marks on the polished surface. If the surface has a fiberglass mesh, you can apply the primer over it. This ensures the mesh connects to the microcement. Again, you should keep the surface free from oil, dust, and other contaminants.
Apply the microcement
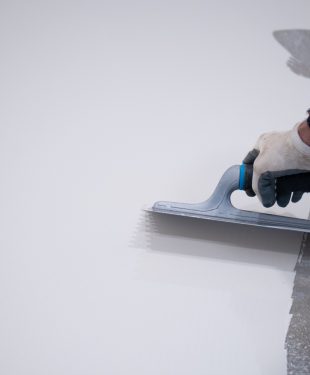
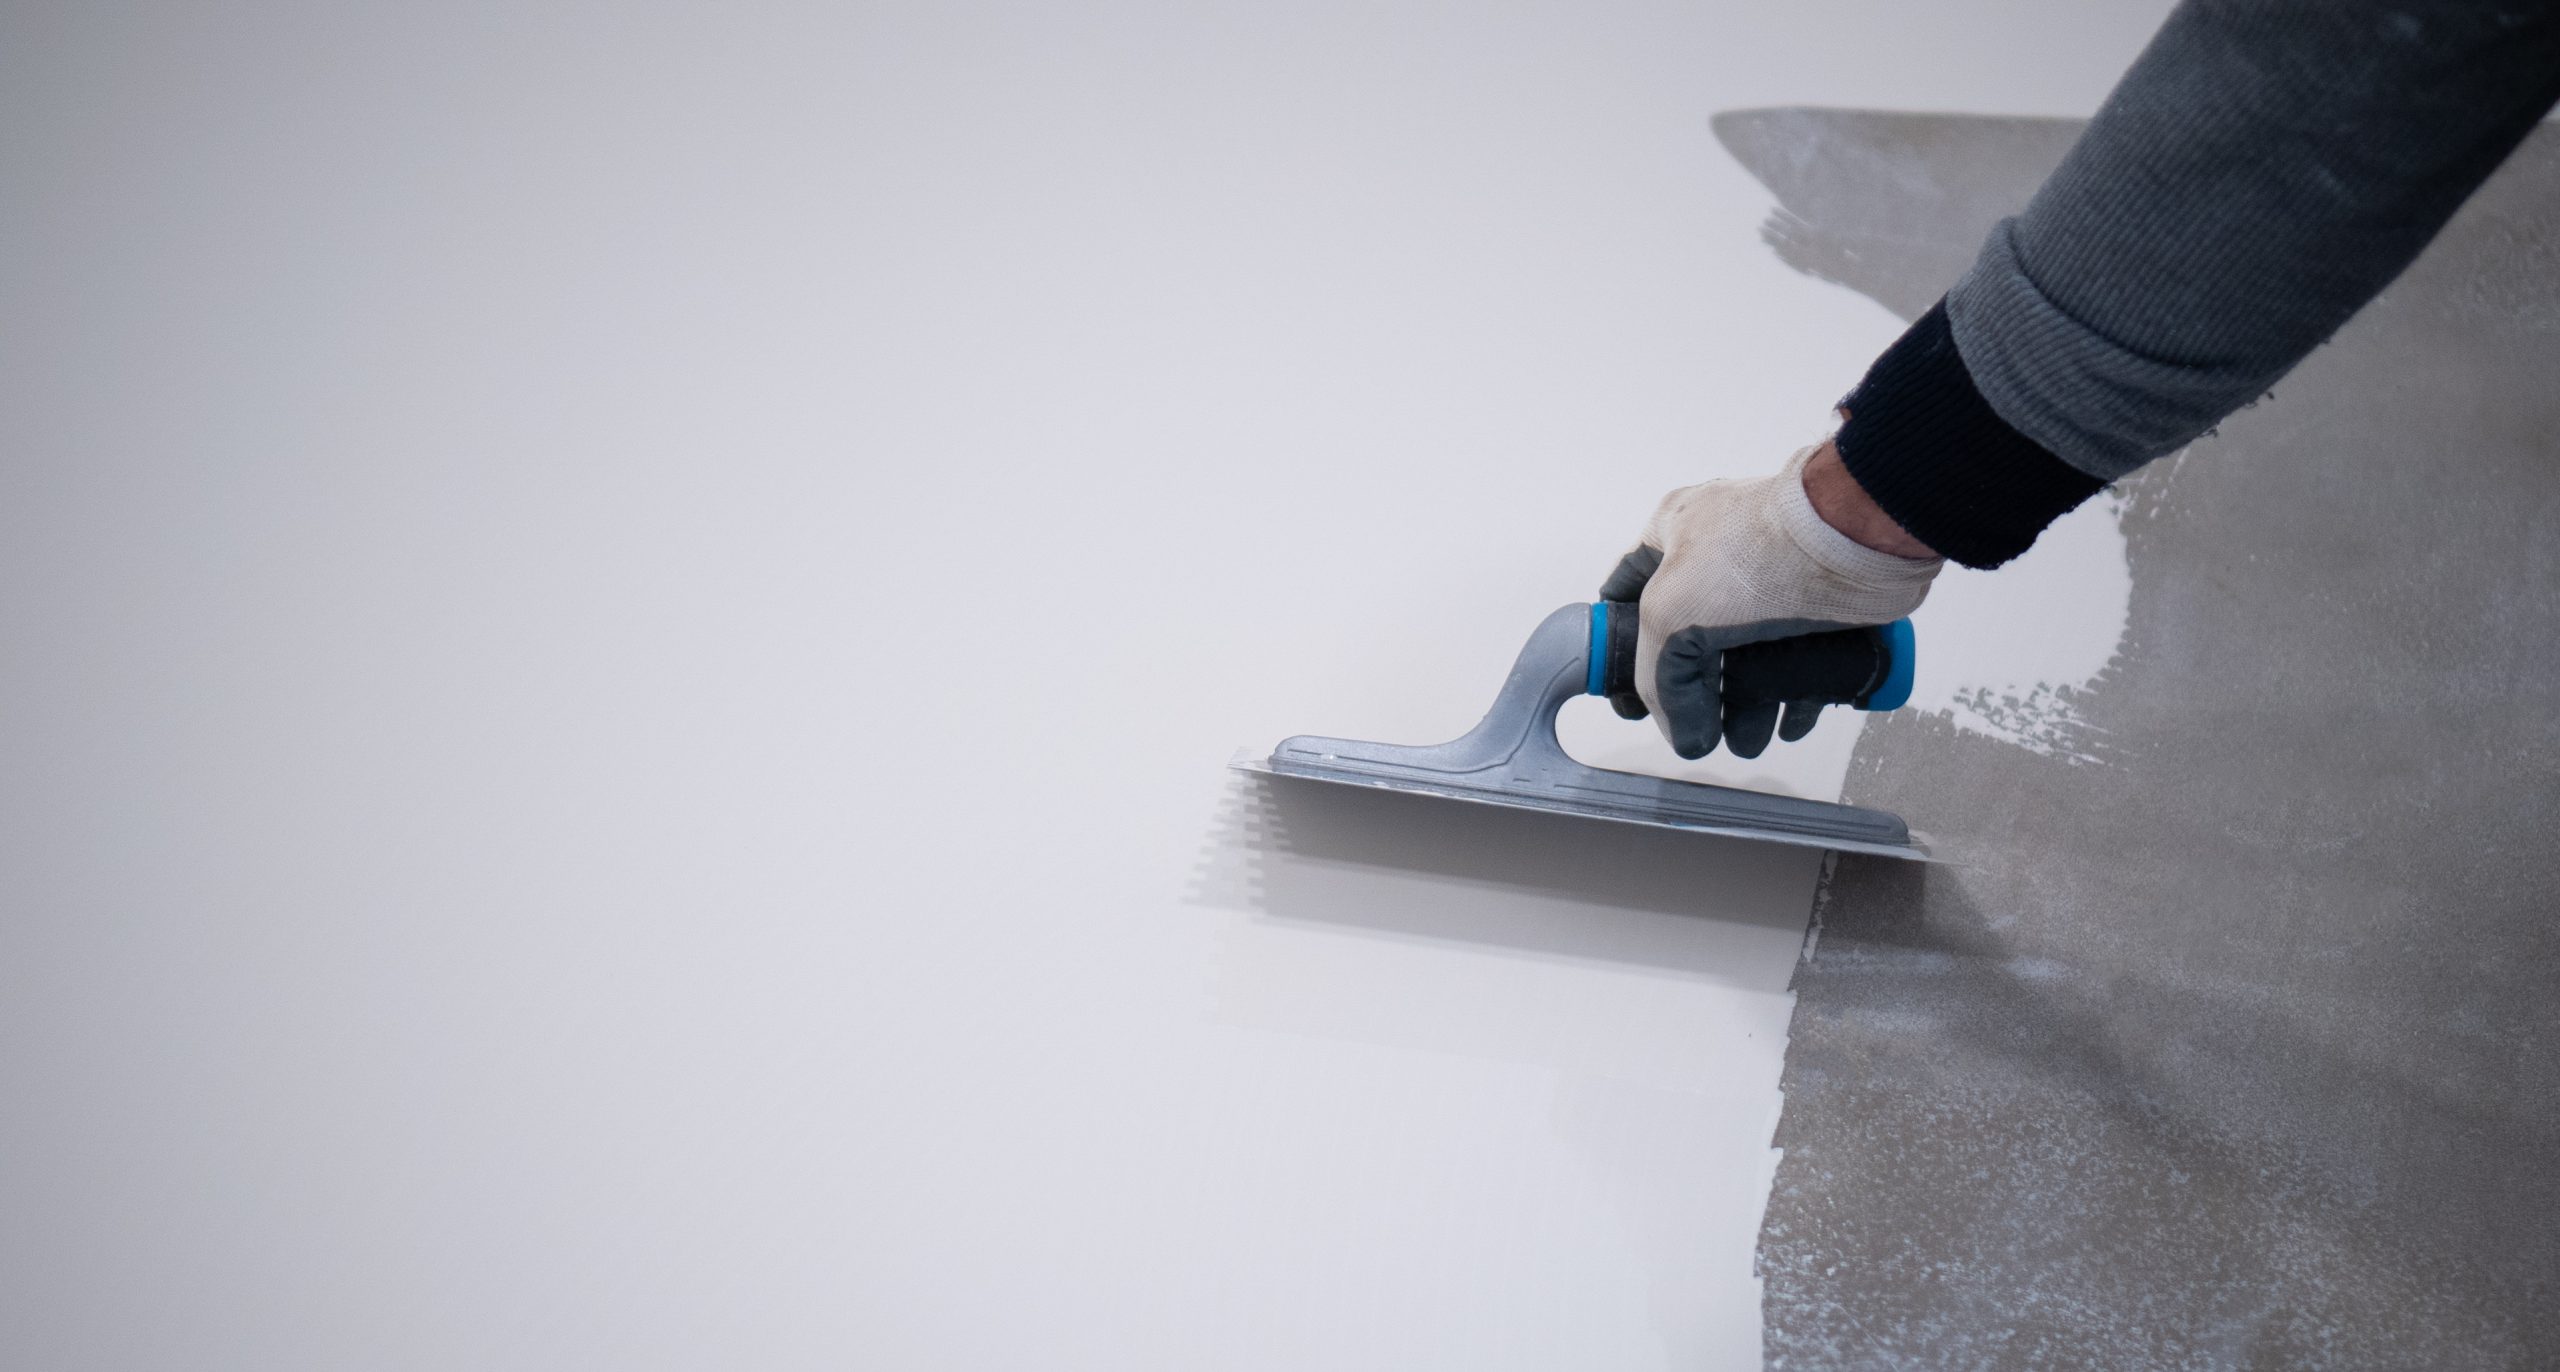
Apply a polymer-modified mortar in thin layers (1mm thick). Pour small amounts of the mixture on the surface (must feel smooth to the touch). For the best results, you should apply two layers. You need a steady hand and specialized plastic or steel trowel. After you apply the first layer, you should sand it with 40-grit sandpaper. This creates a smooth surface for the second layer.
Make sure the first layer is completely dry. Otherwise, you could end up in a mess that needs redoing. Then, apply the second layer, and sand it with 180-200 sandpaper. Again, you should allow it to dry until it’s stable enough to walk on. This can take up to two days. Depending on the aesthetics you want to achieve, you can apply a base coat and medium two-cement coats.
Clean the surface
Take off the tape and clean the surface – use a moist cloth or a vacuum cleaner.
Apply a PU sealer
The sealer protects the microcement surface, improves the aesthetics, and gives a waterproof quality. It’s recommended that you roll back as you apply the polyurethane sealer. If you want to apply the sealer in a wet area like a bathroom, you may want to use a non-solvent PU.
Varnish the surface
A final layer of varnish will make the surface impermeable. The three options for the varnish are matte, satin, and glossy. Generally, the surface becomes resistant to standard cleaning solutions like ammonia, bleach, and anti-limescale. You should apply two layers of varnish with a short-haired brush.
Final words
To achieve a professional look, microcement application requires some experience. Typically, a base coat and the second coat will help you achieve the desired look. For wet surfaces, the application should be done when the moisture level is lower than 5%. However, the finish will depend on the sub-base and trowel used. The most important part is to stick to the recommended mixture proportions and thickness of each layer.
Read more home decor articles at ClichéMag.com
Images provided by Flickr, Unsplash, Pexels, Pixabay & Creative Commons